Kate and JJ's Engagement Portraits

It’s been months since my last post, and a lot has been happening around here!  I’ve got a lot of work to post from the last several months, and am excited to finally get it up on my site.  Stay tuned over the next couple weeks, we’ll be updating the blog and website with new work from this year that has not yet been seen.

 Also, some news from the studio...I now have a Studio Manager!  Kara started working for me in late October, and has been doing a wonderful job.  She is extremely talented, and has a natural eye for photography and design.  She’ll be helping me to get in a regular routine of posting to my blog, among lots of other things!
 
To start it off, here is a shoot from early November with Kate and JJ.  We had such a great time taking these photos.  On Friday, we headed to Kate’s family ranch, and began shooting Saturday.  I brought all of the tintype gear, and we spent the day on Saturday taking 8X10 tintypes.  For sunset we ventured up the hill to a place we had scoped out earlier in the day, and photographed until after sunset.  We had the most incredible light, and Kate and JJ did awesome!  Every time I look at these photos it makes me want to head back to the hill country.  After a great dinner, I made Kate and JJ pose for me one more time before going to bed, and we got the shot with the stars.  Being in Houston, I forget that all of those stars are up in the sky.  What a beautiful weekend.
 
On Sunday morning we got up early for sun rise.  It was cold, but well worth it.  The warm colors of the early morning were magical.
 
It was a wonderful weekend, and I have to thank Kate and JJ, and Kate’s family for hosting us all weekend.  They were such gracious hosts, and made our stay so comfortable and fun.  Also, a big thanks to Ed Cowan, who gave me a hand that weekend.


Scan of the original tintype plate


 JJ with his new pistol...Kate's family gave JJ this as a gift.  Welcome to the family, JJ. 

Scan of the original tintype plate

Scan of the original tintype plate

Tintypes in Santa Fe (and at home)

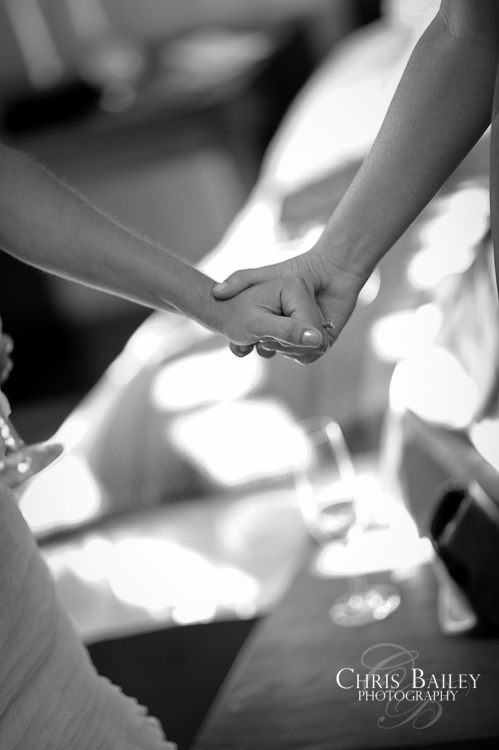
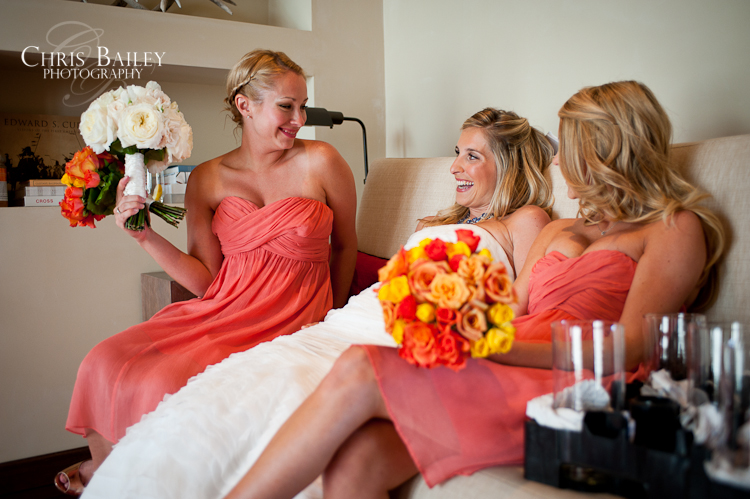
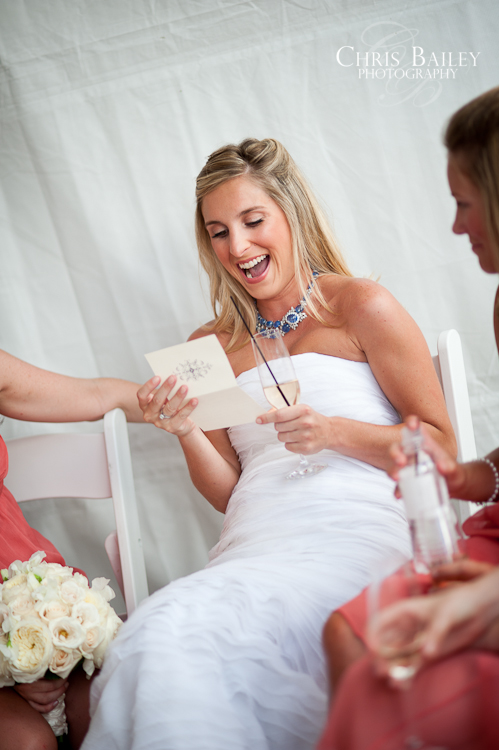
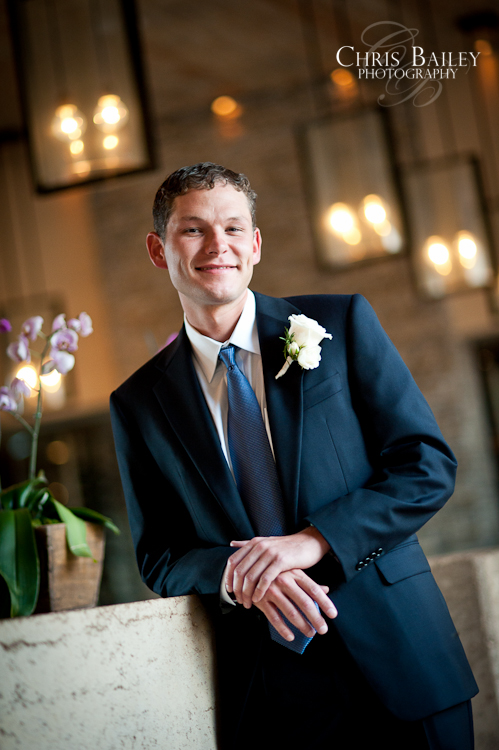
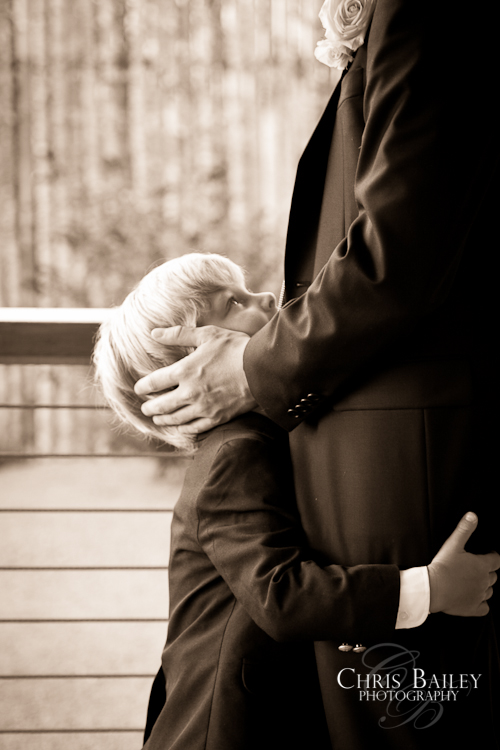
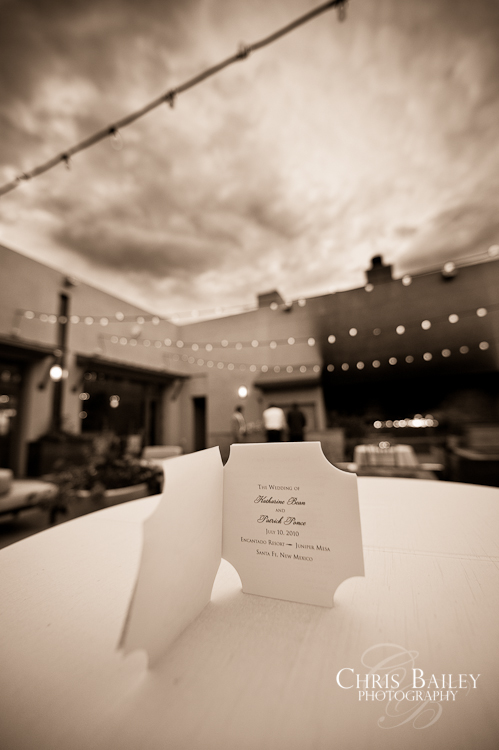
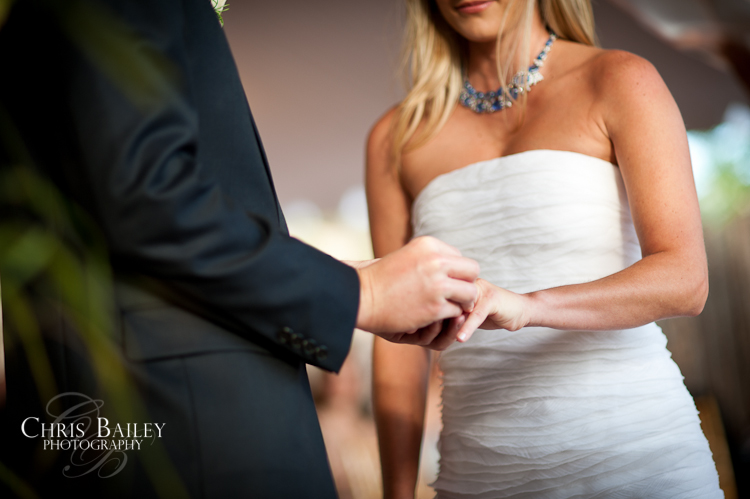
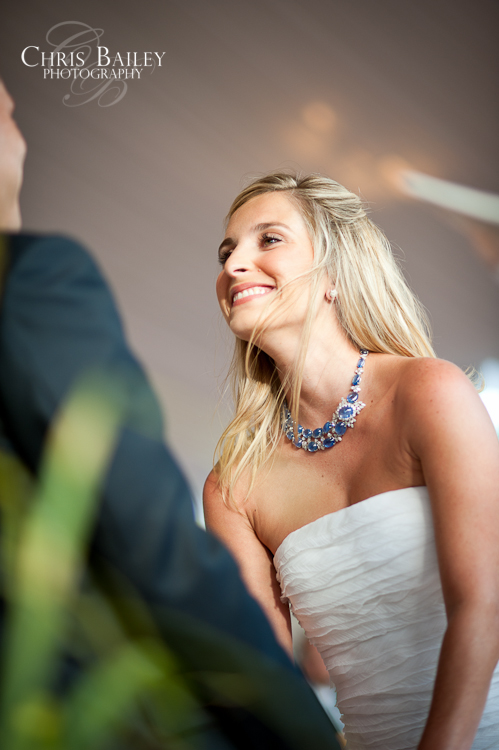
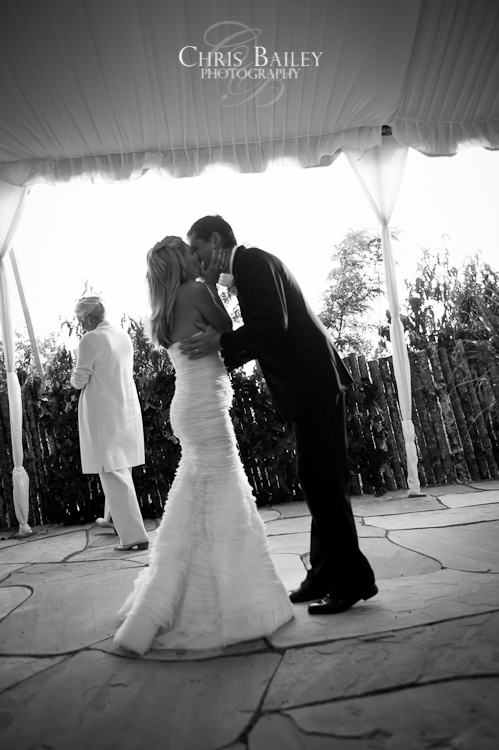
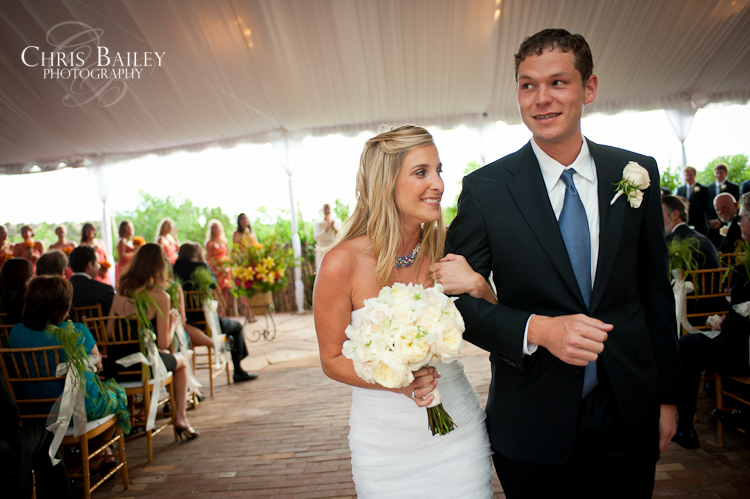
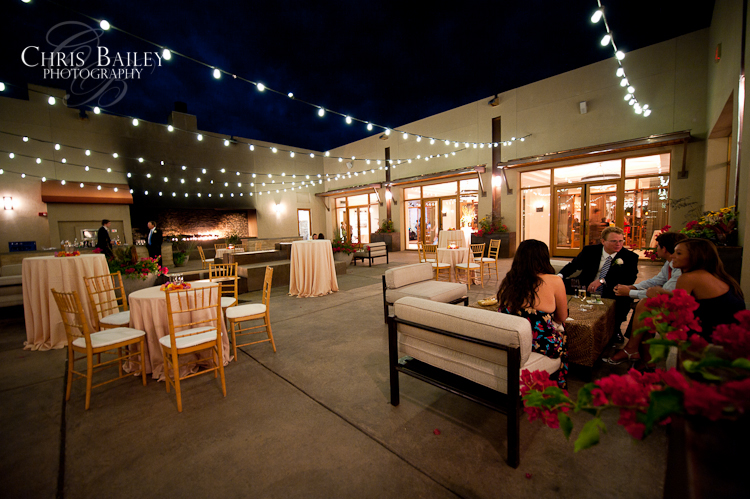
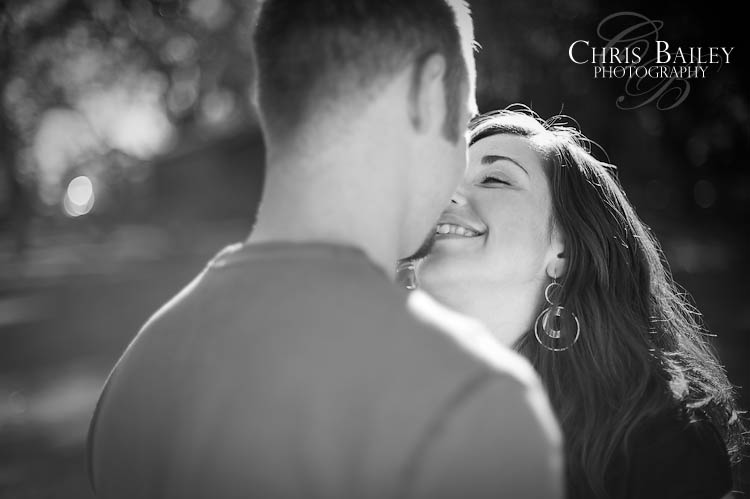
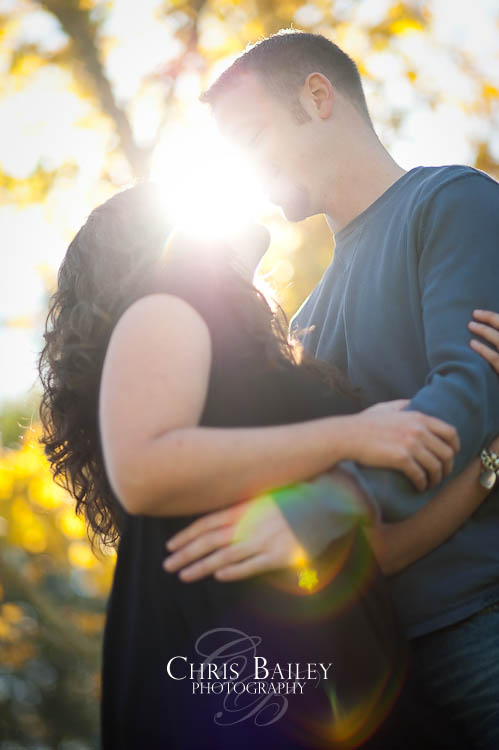
While I was in Santa Fe for Katie and Patrick's wedding, I spent some time working with an antique photo process called "tintype" photography.  I'll describe the process below, but first let me talk about who I photographed!

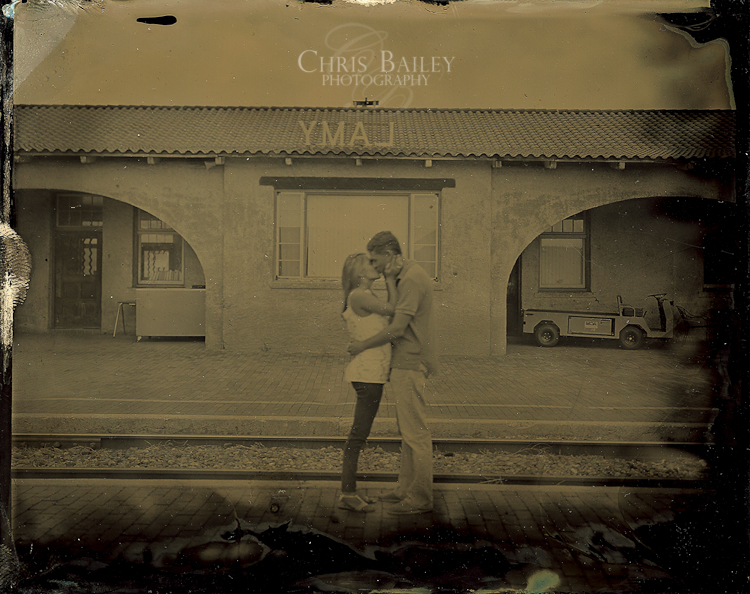
 I began the week with Katie and Patrick, and we did some tintypes in a little town called "Lamy, New Mexico."  To see those, please read the post prior to this about their wedding, or click here.  That week I connected with art collector and Associate Gallery Director of the Andrew Smith Gallery, John Boland.  John is an extremely kind person, and knows so much about photography, its various process, and the masters of this great art.  The Andrew Smith Gallery houses some incredible work, from all the best photographers in history.  If you're ever in Santa Fe, you must go see their collections.  The work is stunning and truly inspiring!

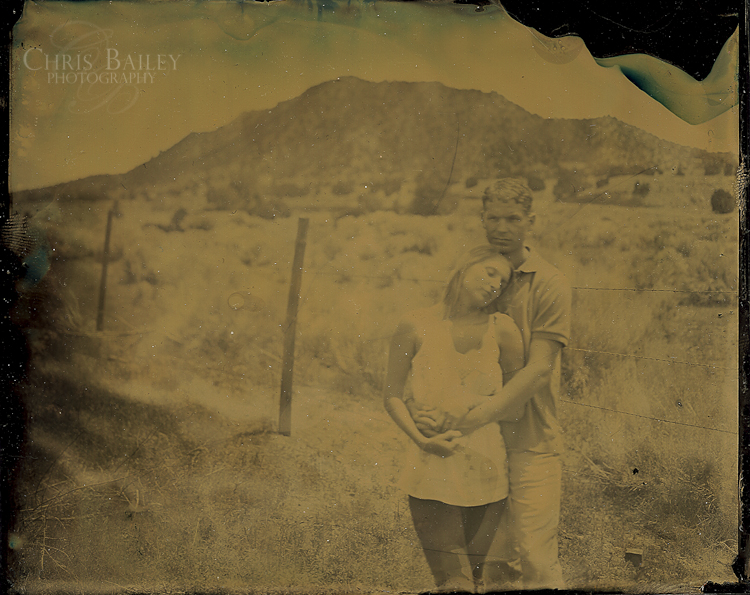
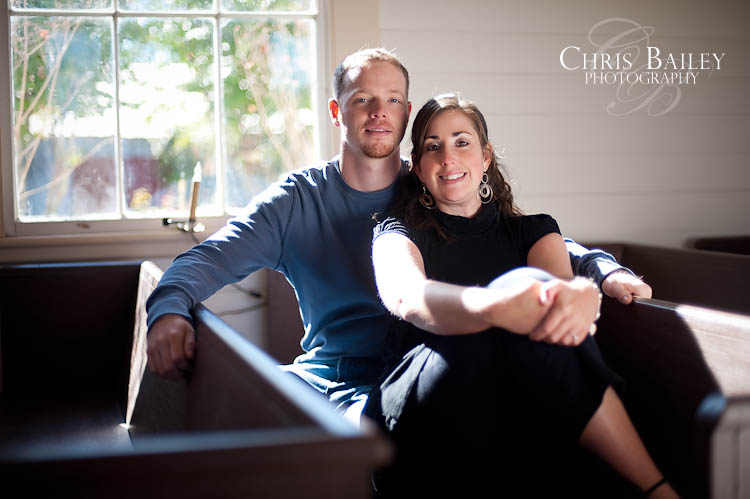
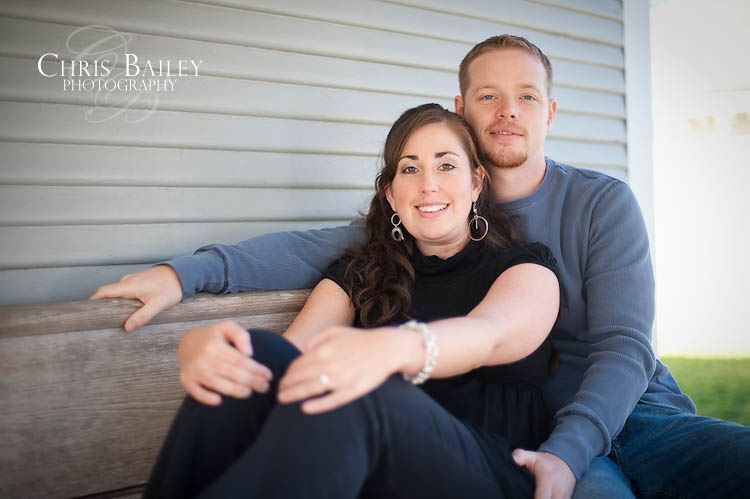
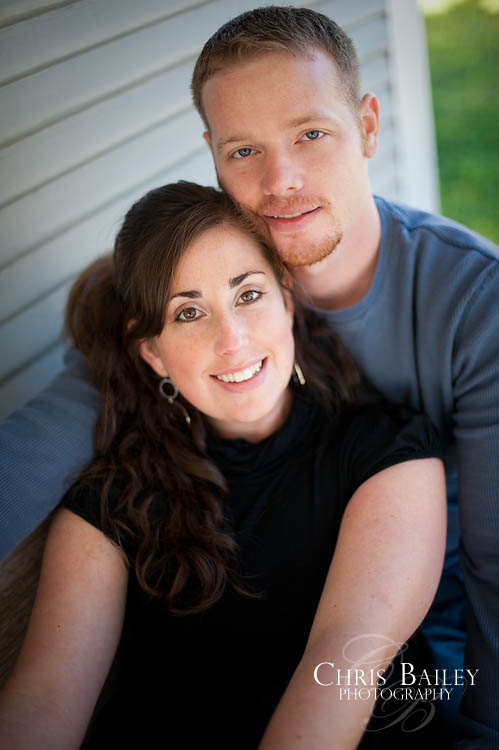
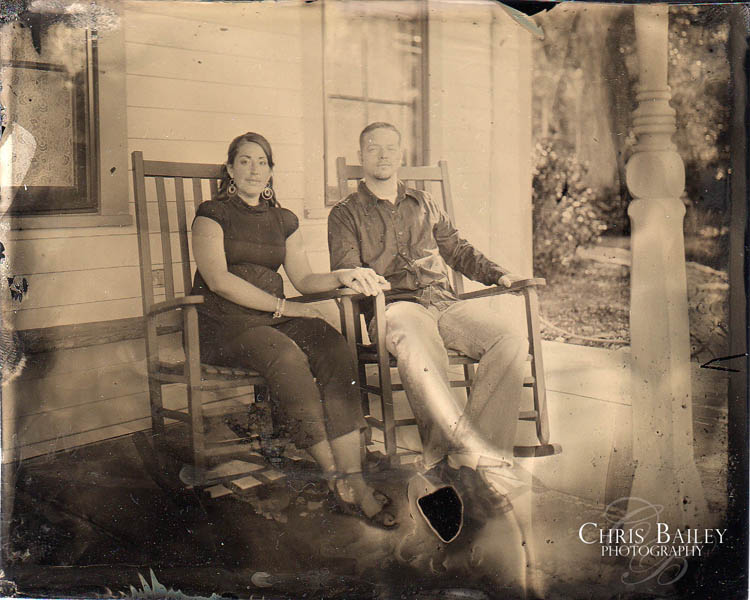
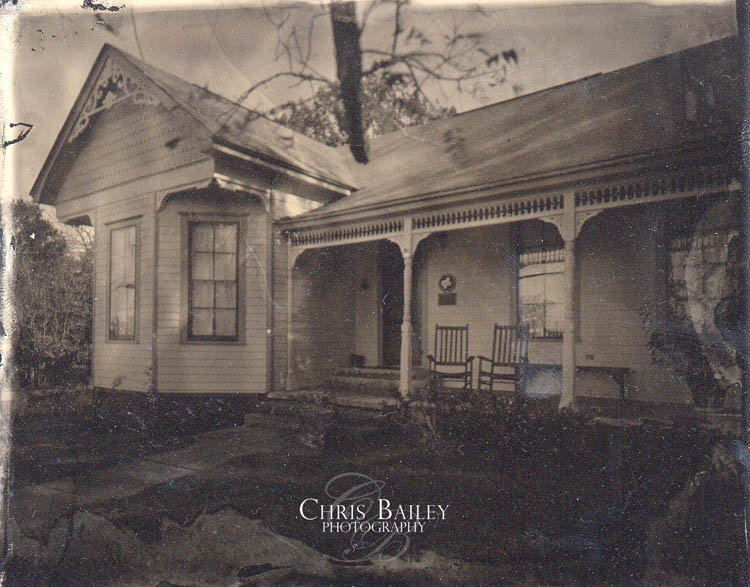
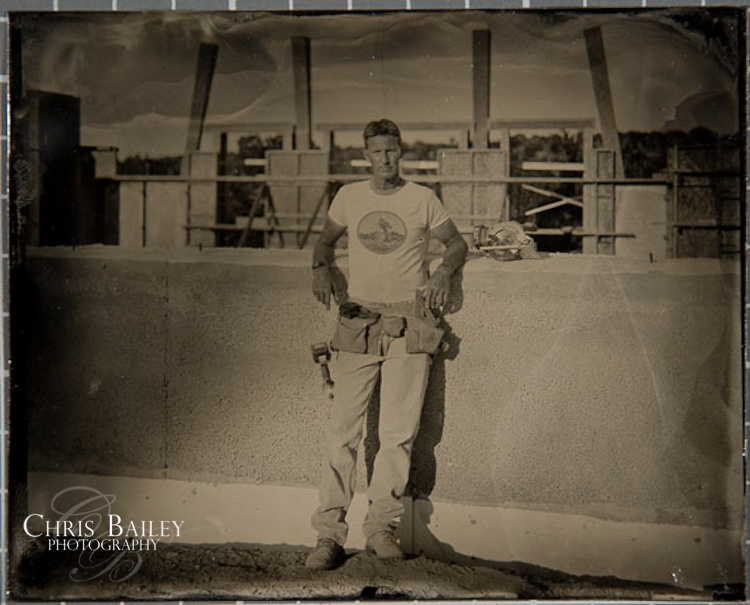
 Anyhow, John had expressed some interest in having a tintype made of him when I visited Santa Fe last year in September.  I had promised him that if I returned with my tintype gear, that we would make sure this happened!  I was excited when I met with John on this trip, and told him I had brought my gear.  We set a time to photograph the following Tuesday, and chose his new house that is under construction as our location.

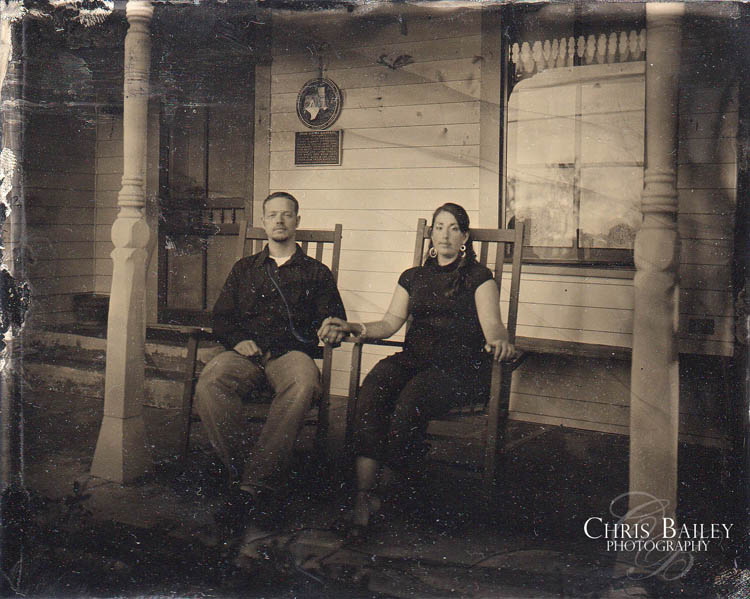
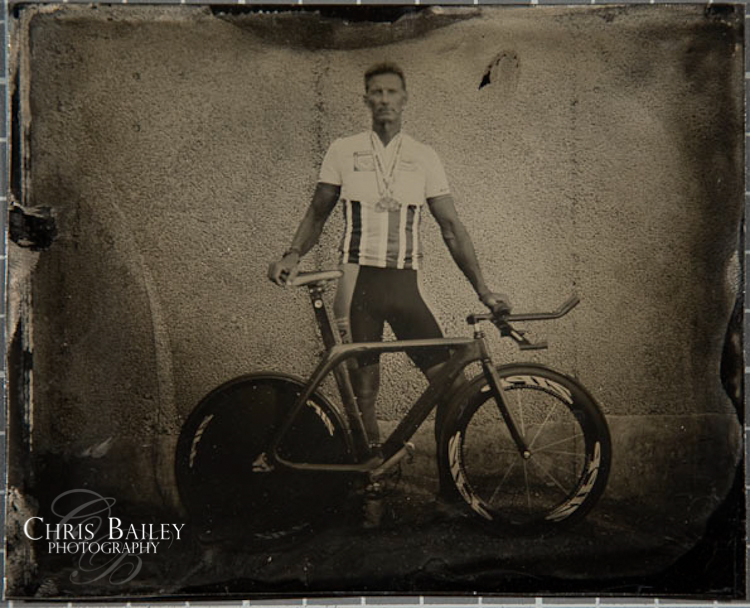
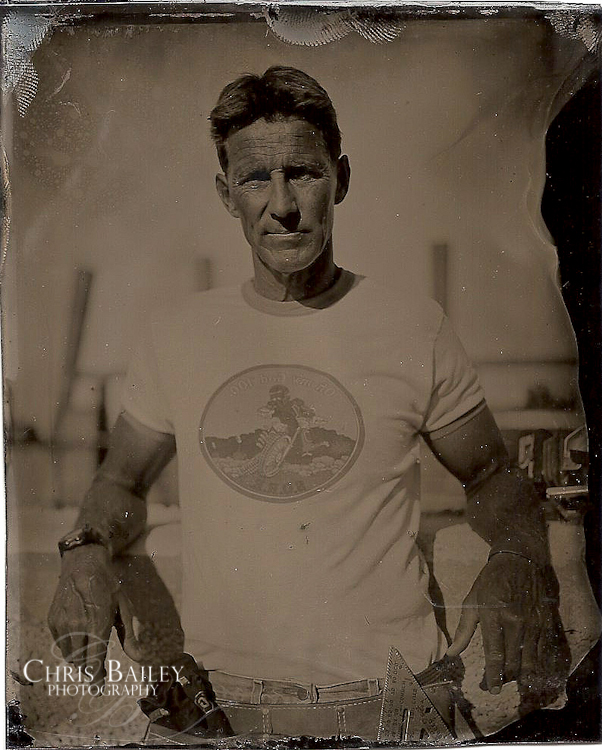
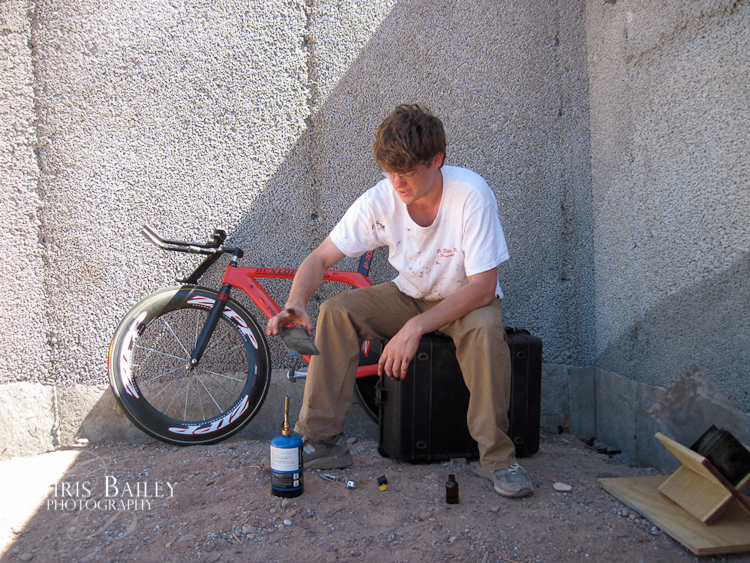
 John is doing much of the work himself, and so we took a coupe photographs with his tools and the house in the background.  John also loves to bike, and has been in many races.  In his bike photos, he is sporting one of his gold medals he won in a road biking race.

 John and I met just after sunrise for an early morning of tintypes.  We spent several hours creating tintypes, and he even created one of his own!  It was a wonderful way to spend the morning.

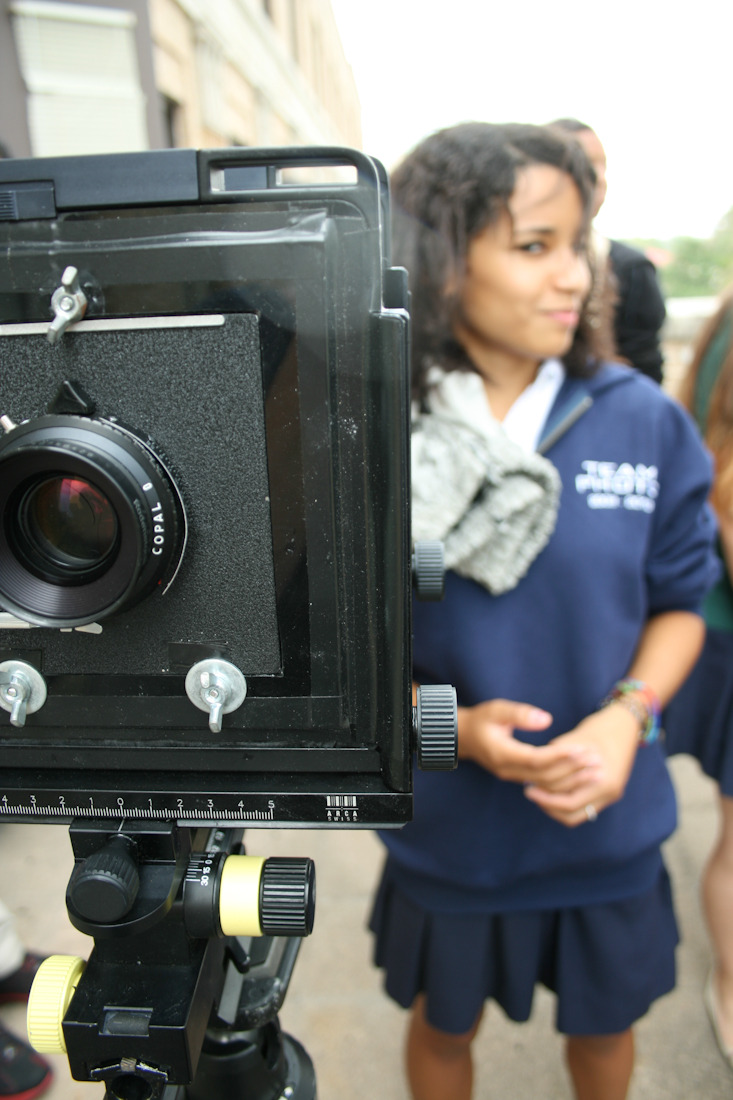
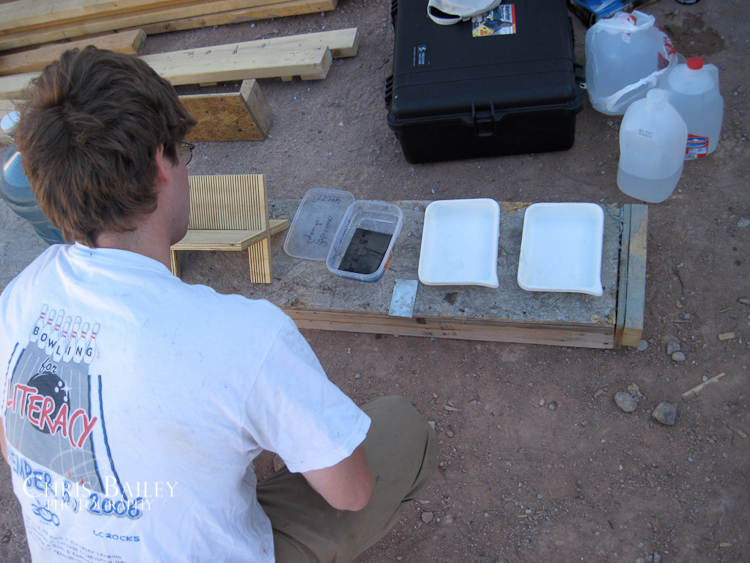
 Here are some of the tintypes we took, as well as some photographs John took of me working.  You'll see all of the gear required to make these beautiful pieces!


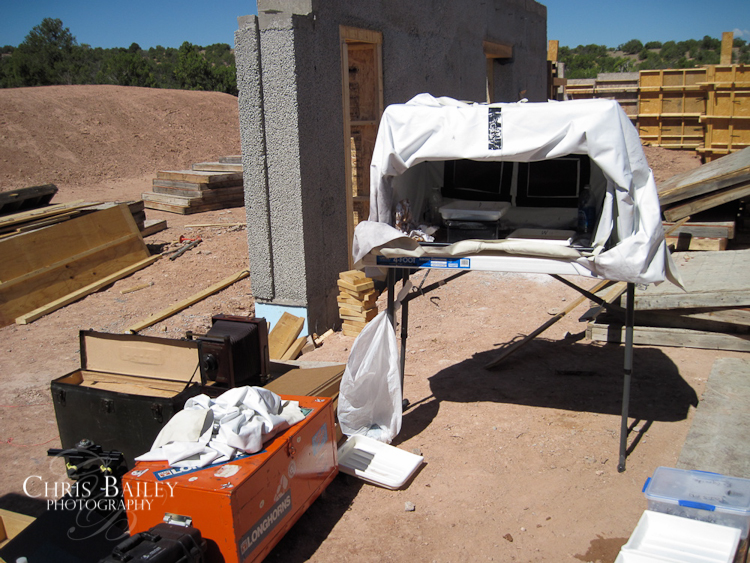
Some of the gear...as you can see, I converted my old orange camp trunk into my tintype trunk.  It works well, but is VERY heavy!  The darkroom is the frame from a collapsable dog kennel, with dark cloth that has been sewn together into a box form.  I tie the dark cloth along the frame to form the darkroom's structure, and throw a large black out cloth around me and the darkroom box to ensure light doesn't get inside while processing (as you'll see in a photo below).  Notice the two orange squares in the back of the darkroom.  These are orange safe light filters, and they act as safelight skylights.  The white light from the outside is filtered through the orange glass so that I can see inside the darkroom without "fogging" (or exposing) the plates.

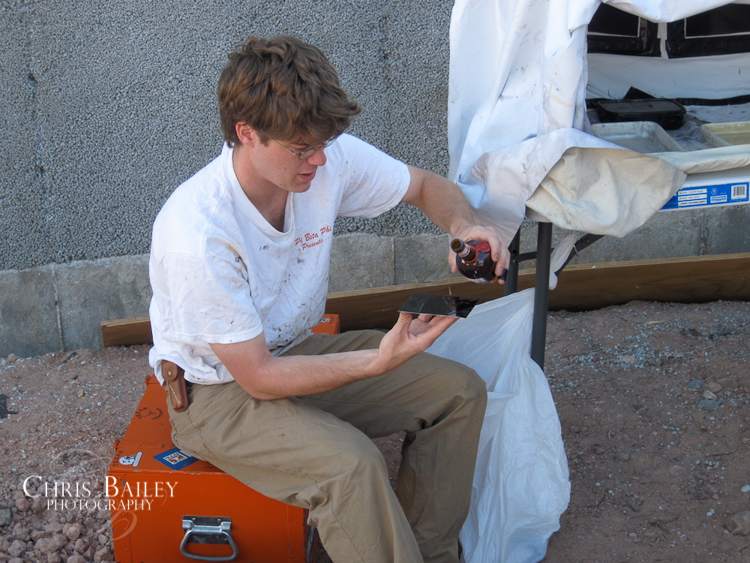
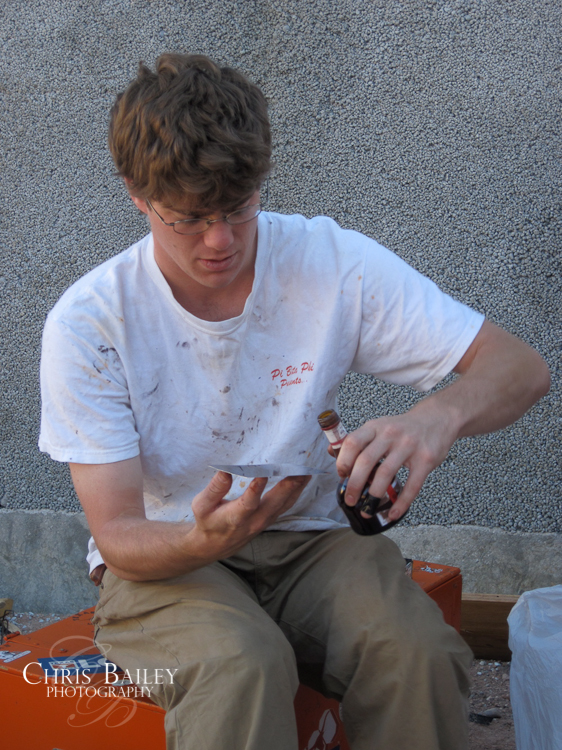
Here I am pouring collodion onto a plate.  I tilt the collodion so that the liquid flows from corner to corner, and up and down the plate.  The collodion gels fairly quickly (especially in the dry Santa Fe air) and must be put in the Silver Nitrate next.

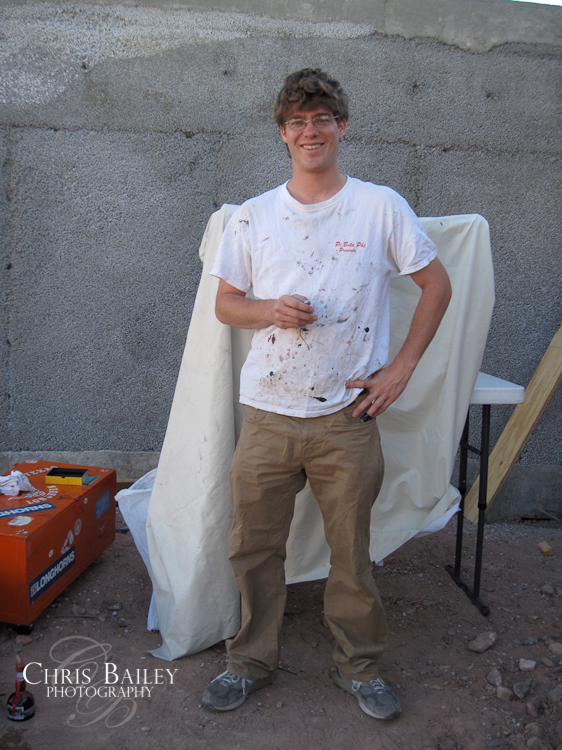
Looking goofy in my tintype outfit.  All of those stains are created from the Sliver Nitrate.

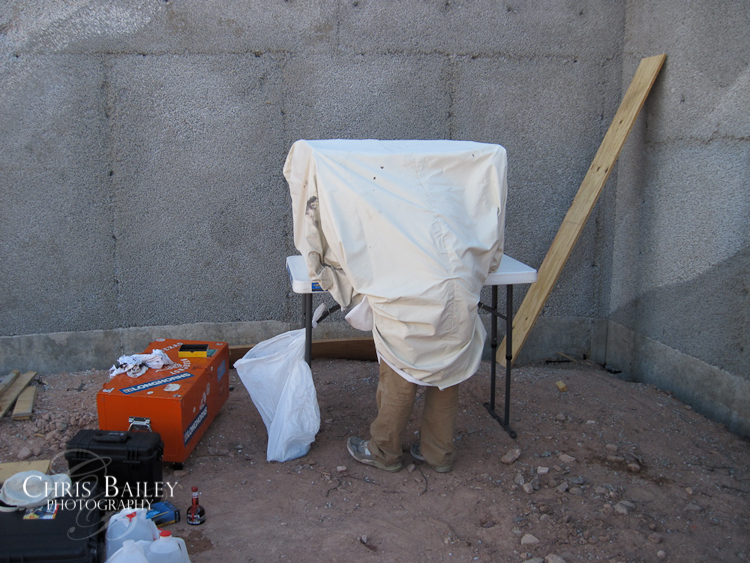
Here I am working in my traveling darkroom.  As you can see, the large dark cloth is pulled around me to make sure no light gets in while working.

Here I watch the tintype "flip" as it sits in the Potassium Cyanide.  The usual way to house the Potassium Cyanide bath is in a vertical box with a dipper.  In college I made a vertical bath from plexi-glass, but it leaked on me.  I didn't want to have anymore leaking Potassium Cyanide...!!!  Now I use Tupperware from the Container Store!  Clearly marked, "Poison!"

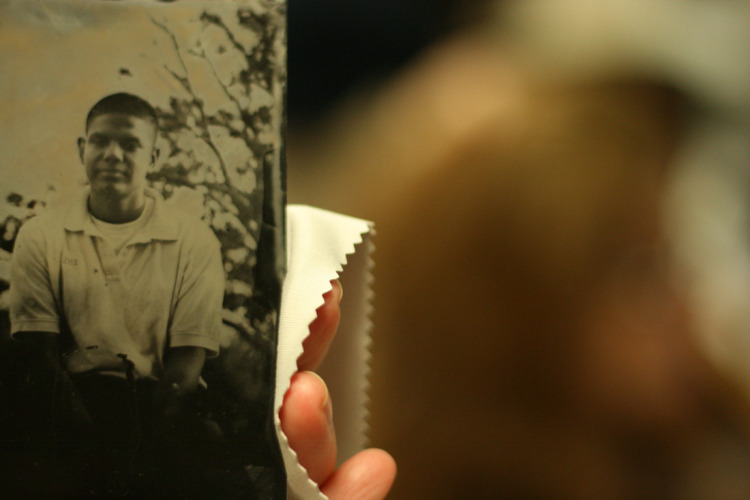
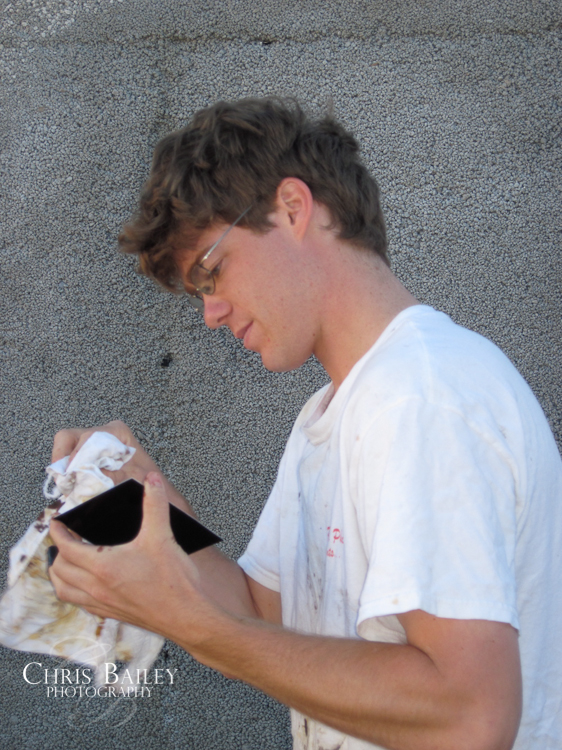
Peeling the plastic from my plates.  At this time I don't "japan" my plates.  It is a long process, and I don't currently have the means to do it.  Therefore, I used blackened trophy aluminum from Main Trophy Supply.


Close up pouring the collodion.

Wiping the back of the plate.  Excess collodion on the back of the plate is not a good thing.

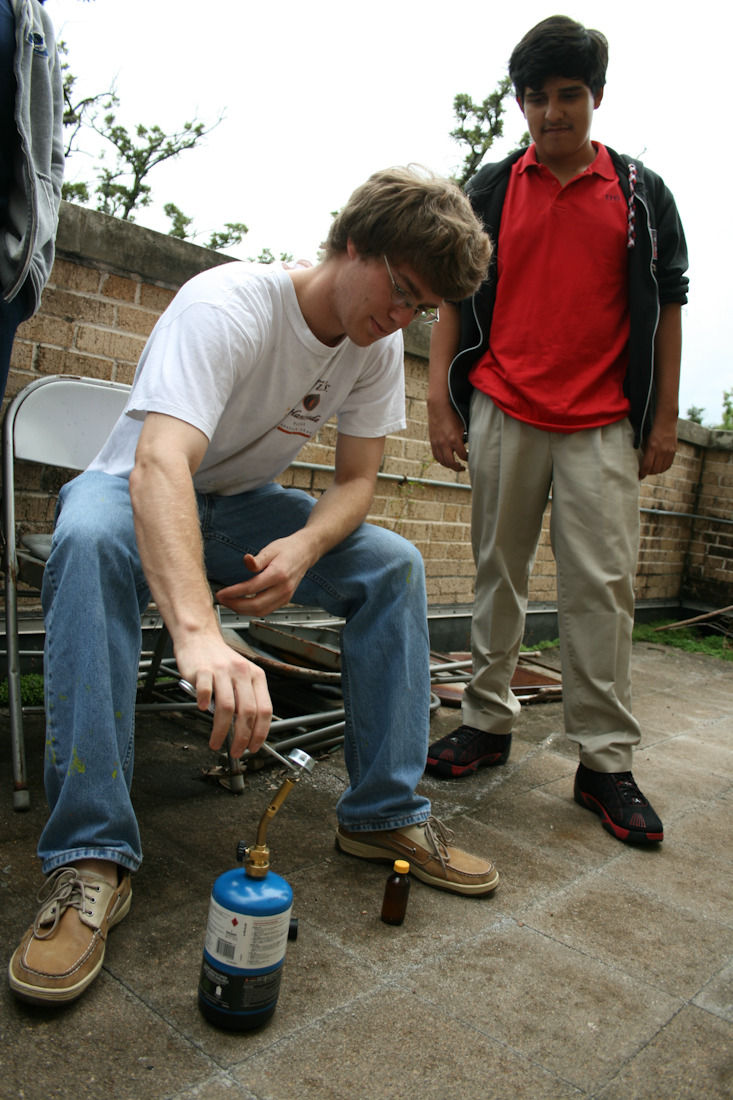
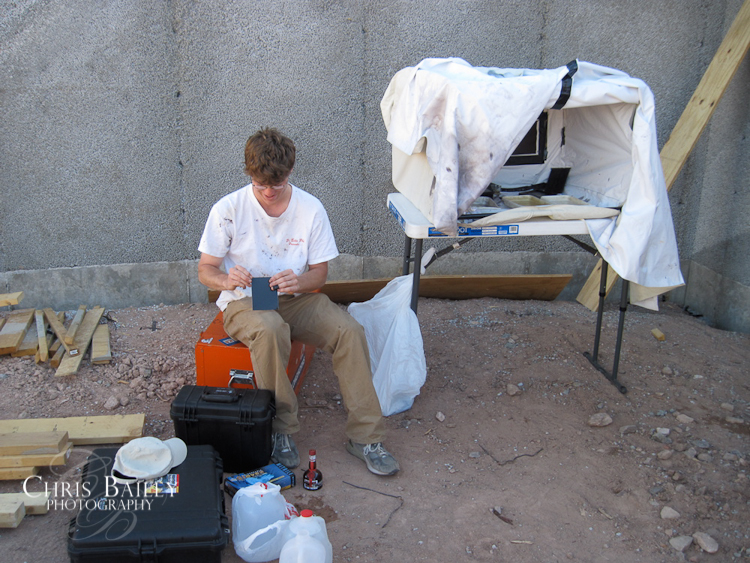
Here I am varnishing the plate.  I use a flame to finish them.

Close up of the varnishing process.


Now, some about the process...

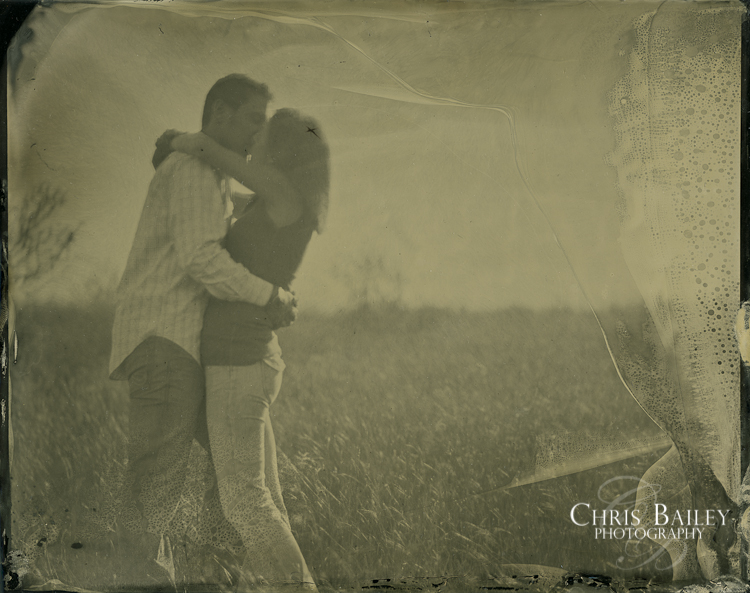
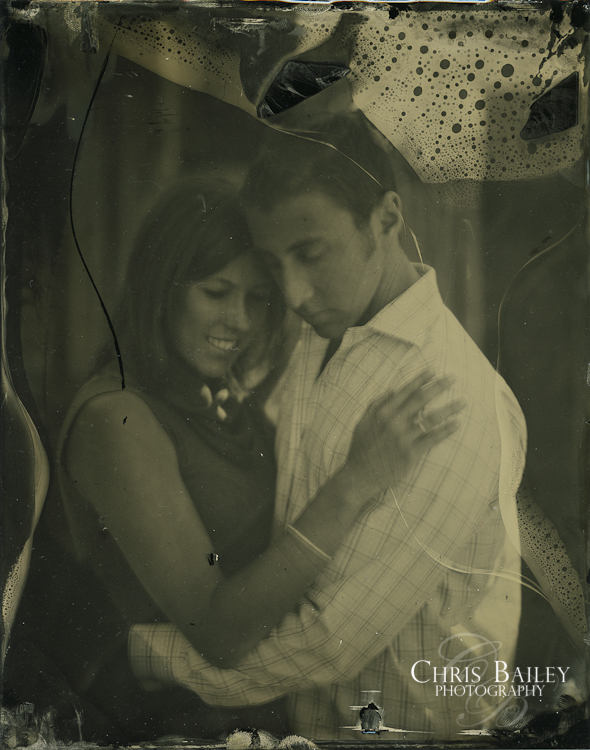
The tintype process was developed around the 1850's, and is a "wet plate" process.  This means that the photographer must "pour a plate" (or prepare a plate for exposure), expose and develop the plate all within minutes, while the plate is still wet with chemicals.  To do this, a tintype photographer must have a darkroom with him while he is creating tintypes.

 Tintypes are taken on sheet metal that is blackened prior preparing a plate (this process of blackening the plate is called "japanning").  The base chemical of the tintype is "collodion" which allows the silver nitrate to stick to the plate.  Once the collodion is poured onto the plate, the photographer must dip the plate into a bath of silver nitrate and wait 3-5 minutes until the plate is sensitive to light.  This part of the process takes place in the darkroom, away from any light.

 Once the plate is light sensitive, it is placed in a plate holder, and taken to the camera, where it is exposed to make the picture.  After an exposure has been made, the photographer returns to the darkroom to pour developer on the plate and process the image.  Water is used to stop the developer from over developing the image.  Then the plate is brought into the light, where it is placed in a bath of Potassium Cyanide!  The Potassium Cyanide fixes the plate (so that light won't ruin it), and also flips the image so it becomes a positive.  The result is a beautiful photo on sheet metal that looks like nothing else you've ever seen.

 After the tintypes have been washed and dried, the photographer applies a varnish to the plate to protect it, and uses a flame to evaporate the alcohol in the varnish.  It is set to finish drying, and after a coupe hours is ready to handle.


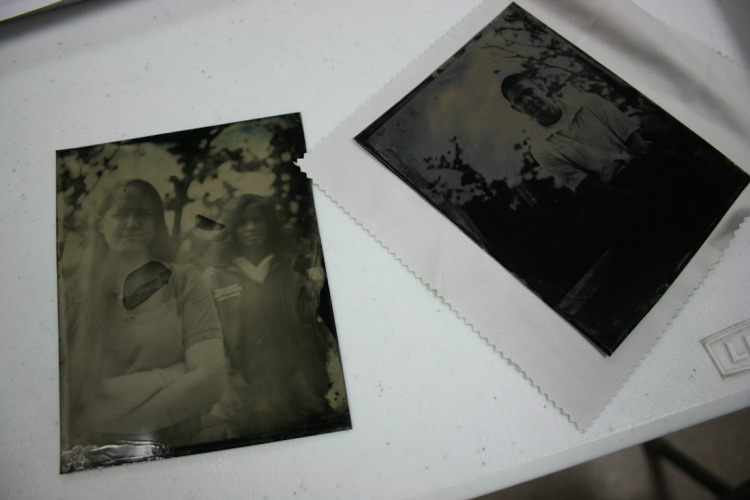
This summer I had a wonderful intern working for me, Madeline.  Madeline is a talented photography student at USC, and was home for the summer.  She did a wonderful job helping me around the office, and posting photos to this blog!  Madeline finished with me this week, however, I had promised to teach her a little about tintypes, before she left.  Therefore, this week we spent one morning going over the process, and she made a couple nice tintypes.  My favorite was this one of my dog Georgia and me.  I still have to varnish the plate, but Madeline did a great job!


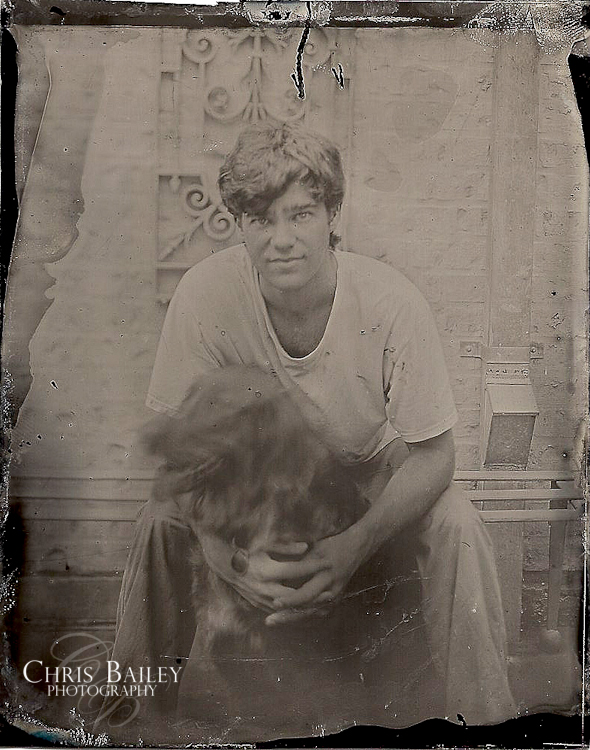
My pup (and faithful assistant) Georgia, and me!


Katie and Patrick's Santa Fe Wedding

Over the weekend of July 10th, Katie and Patrick tied the knot in Santa Fe, NM with friends and family by their sides.  The ceremony and reception were held at El Encantado Resort right outside of downtown Santa Fe.  It was a beautiful wedding day, and the reception was a blast.  The Patrick Smith Band brought the house down with their awesome sound, while Andrea Soorikian created beautiful bouquets, floral arrangements and an elegant and unique setting for the celebration.  Make up artist, Monica Stark, did a wonderful job, and Keely Thorne and Emily of Keely Thorne Events coordinated the weekend's events beautifully.

My work started on the Wednesday before the wedding, when Katie and Patrick met with me in Lamy, NM, a small town about 15 minutes outside of Santa Fe.  Back in the day, when you'd travel to Santa Fe by train, you'd have to come through Lamy to catch the spur into Santa Fe.  Today, there's not much left of the town, just the train station (which is still operating), and the old Legal Tender Saloon, which is a museum now.  I thought it would make a neat setting for what we would be doing...TINTYPES! 

If you've read my blog before, you might have seen me mentioning tintypes.  I took some for Kate and Garner's engagement photos in front of an old historic home in Chappell Hill, TX.  The tintype process was developed in the mid-1800s, and is an antique photo process in which one photographs directly onto sheet metal.  It is a labor intensive process, with many factors, and you must have a darkroom ON SITE to process and fix the photo immediately after exposing it.  The tintype cannot be replicated, it is a totally unique image, which is a strange way to photograph in today's digital world.  However, there is a certain beauty in that idea.  In a later post I will show some of the tintypes that I took of John Boland, an art director at the Andrew Smith Gallery in Santa Fe.  He also took some photographs of me working, and I'll be sure to post those also.

Anyhow, Katie and Patrick spent several hours working with me in this process, and I've posted two of the tintypes we took during the day.

Here are my favorite images from the weekend, including the tintypes we took.


A Beautiful Day in Chappell Hill- Part I- Kate and Garner's Engagement Portraits

One of the tintypes we took in front of Kate's family's home.  The tintype process is a 19th century photographic process where pictures are exposed onto sheet metal.  Check out my blog for some more information about tintypes.


The Wednesday before Thanksgiving, I headed to Chappell Hill, TX to photograph some engagement and family portraits.  Chappell Hill is a beautiful little town located near Brenham, TX (home of Blue Bell Ice Cream!).  Kate's family lives a short walk from downtown, so we started photographing at their beautiful, historic house, then walked down the street into town.  We had beautiful weather, and even took a couple tintypes!  I thought the historic setting was a perfect reason to bust out all of the tintype gear!  Kate and Garner did a great job staying still and not blinking for the 6-8 second exposures!

We were only able to take a couple quick exposures inside this church before we had to leave.  I wish we could have spent a bit more time taking photos inside, but there was a meeting scheduled to take place while we were there, so we took what we could get!  The church, located downtown, is a historical landmark, and is more or less the original structure, with very few changes since it was built.


The first tintype exposure, a bit over-exposed.  Because the "film speed/ISO" of a tintype is so slow, you can't accurately meter the light of a scene like you would with a normal camera.  Trial and error is the best way to get a correct exposure.


Kate's family's home is absolutely gorgeous.  After purchasing the home they did an incredible job restoring this piece of Texas history.

Tintypes!

Tintype that I took in Spring of 2009 of one of my photography students.  Photo by Cara Debusk (my high school photo teacher!)


Almost two weeks ago I spent the afternoon at Episcopal High School (my old high school, and where I spent some time teaching photo last spring!).  I did a little workshop for some of the advanced photo classes, and for the after school photo club (wish they had had this while I was there!).  Anyhow, we spent the afternoon learning about tintypes, and I did a demo on how the process works.

For those that aren't familiar with "tintypes," tintype photography was invented in the 1850s.  Also called "ferrotypes" these images are photographed onto sheet metal, and use a chemical called collodion as the base material.  The silver nitrate (what makes the plate sensitive to light) adheres to the collodion, and makes a useable plate (a plate is the sheet metal that the photo will be exposed on).  The tintype process is a "wet plate process," meaning that one must prepare a plate, expose it, and develop it before the plate dries.  Therefore, a tintype photographer must have access to a darkroom, wherever he is making photographs.  This means that if you are a traveling tintype photographer, you must have a portable darkroom!

The tintype process is very labor intensive.  You must mix all of your own chemistry (and take the correct precautions when doing so, as some of the chemicals are very toxic), prepare each plate individually, expose and develop each plate on the spot, then varnish the plates after they have dried.  The process also requires a lot of gear--good thing I kept my old camp trunk!  Also, make sure you're not wearing your "Sunday best" while making tintypes--the silver nitrate will leave stains on anything it drips on (hints the old "Tito's" shirt and jeans).

Tintypes also have a very slow film speed.  Exposures are usually several seconds, and often reach 15-20 seconds (or more!).  So tell your subjects to hold very still...

The result, however, is exquisite!  And totally unique.  There is no way to reproduce a tintype.  Unlike paper prints, which use film (or digital negatives) to reproduce multiple prints in the darkroom or with a printer, tintypes are totally unique in that you cannot print from them.  When you make a tintype, that is the only one of its kind that will ever exist in the same form.  Pretty cool thought, huh?  A photo that is as unique as you are (well maybe not quite as unique as you, but certainly one of a kind).

The craft of making a tintype is a beautiful process, one that I enjoy and am continually learning about each time I break out the chemistry and start pouring plates.  It is very "hands on," and the finished product is more of an object than a photograph.  Picking up a tintype, holding it and touching it (by the edges and corners if not protected) is such a unique way to experience a photograph--different from our traditional, gallery experience, where photographs are often behind glass, within frames, and separate from our literal grasps.

Here are some photographs from my class with EHS.  I will also be posting more about the tintype process here on my blog.  I'll be going into more detail about some of the gear, the actual process, and what I have learned, or am learning about tintype photography.  I am still very much a beginner in this process.  Mark Osterman and Robb Kendrick have graciously helped me when I have had questions.  Please check out their work.  Mark is the go to guy for any antique photo process, and Robb completed a beautiful series of work on Cowboys, and continues to work in this process.


Setting up a photo outside with a large format, 4X5 camera.  Since tintypes are only sensitive to UV light, we photograph outside.  Photo by Cara Debusk

 
Preparing a plate in the darkroom--pouring the collodion onto a plate.  Photo by Cara Debusk

Fixing a plate after it has been exposed and developed.  This is done in a diluted bath of Potassium Cyanite, which is why we do this step outside.  Photo by Cara Debusk

 Students preparing a photo.  Photo by Cara Debusk

Looking a little unsure about all of this, and this mad scientist guy that showed up to teach photo class today...

Photo by Cara Debusk

Preparing a flame to varnish a plate.  Once the varnish is poured over the plate, you must move it over the flame so that all of the alcohol evaporates from the varnish.  Photo by Cara Debusk

One of the finished tintypes (left tintype) from the day.  Since there is no way to accurately measure the available light with a meter to determine the correct exposure, one must simply rely on guess and check.  This tintype was over exposed, but we didn't have time to make another one with a correct exposure.  Photo by Cara Debusk